Showing posts with label Get Well Soon. Show all posts

Sunday, May 22, 2022

Get Well Soon

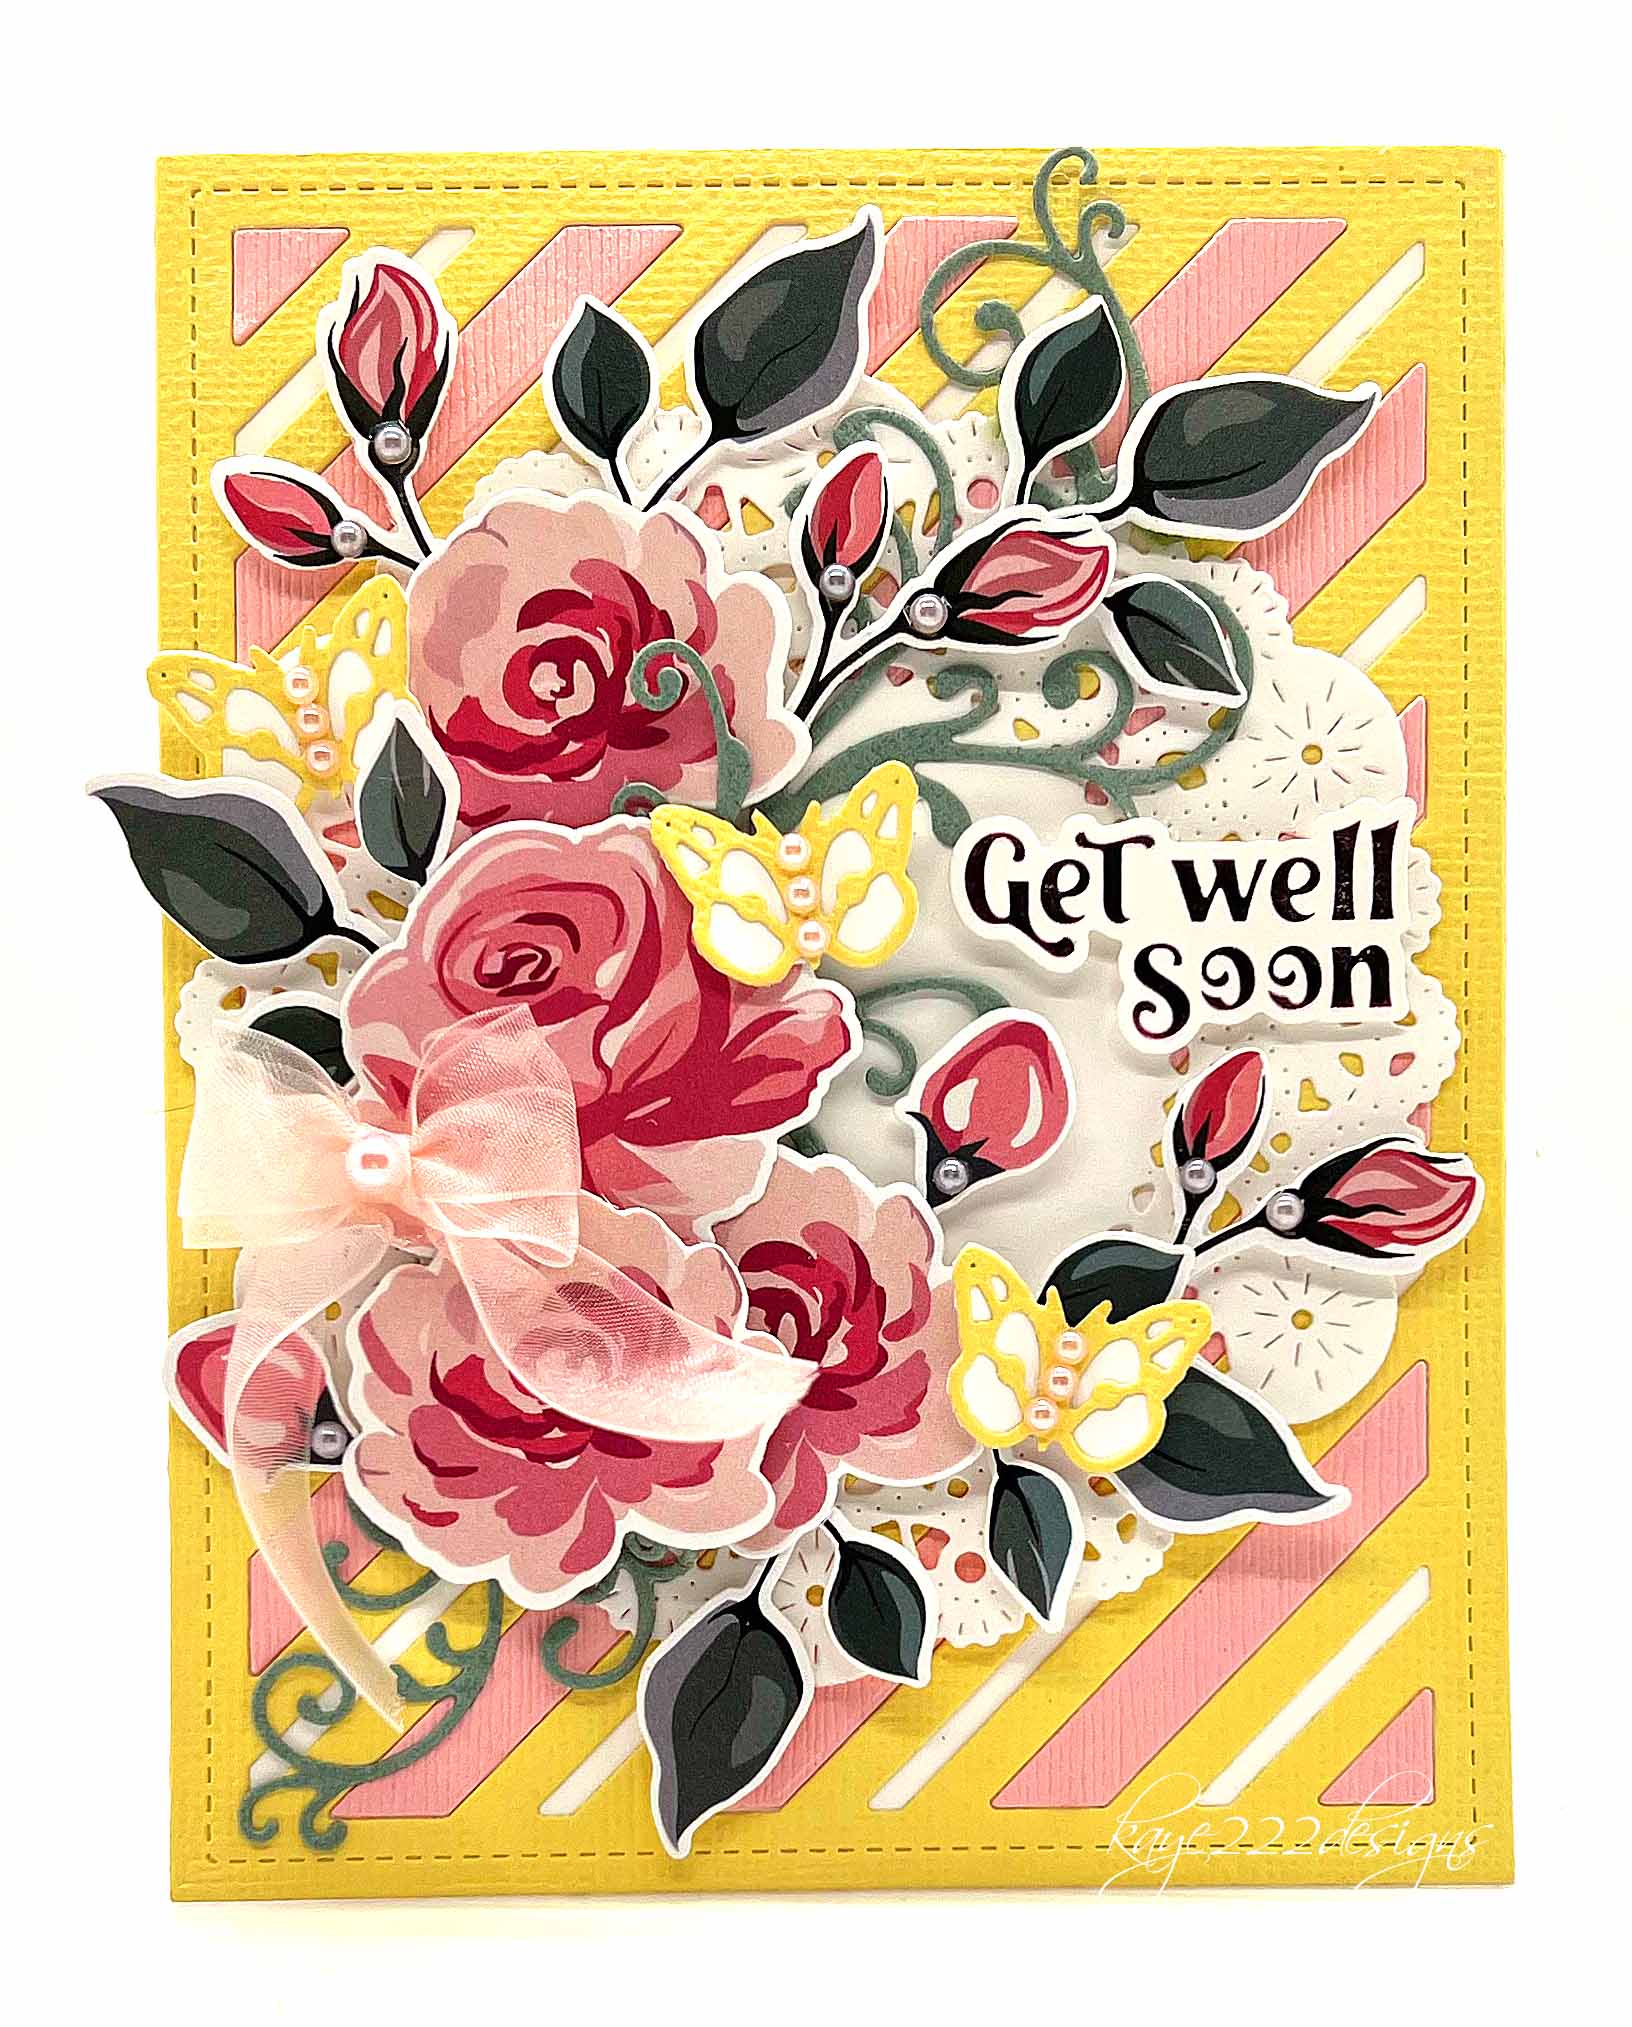
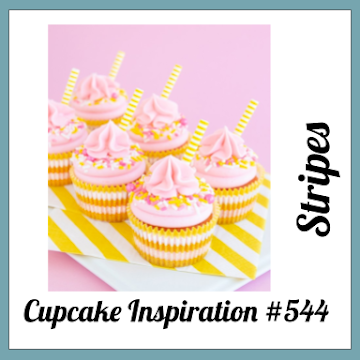
Hi, had a great day today with all my family. Only problem is one of my dog's goes super hyperactive when my daughter comes to visit. Any suggestions on calming a dog down? Meanwhile, I wanted to make a card for my stash using this week's Cupcake Inspiration #544 Stripes. I loved the yellow and pink together so I decided to keep it with my card. 

I even decided to use the other half of the Lawn Fawn die cut in the inside of the card. When it comes time to add my words I will place it on white cardstock. 


The flowers and sentiment are from Divinity Designs. I LOVE the foil sentiments. Especially sine you make many all at once. 


Here is the inspiration! 


Thanks for stopping by today! 
Hugs 
Lisa

Friday, August 13, 2021

Get Well Soon

Hello! It sure has been a while since I last crafted again....lots of personal stuff going on. However, I know everything will work out in the end. meanwhile I decided to send this card to someone who needs a get well card. She was very ill for a while....so hopefully this finds her and puts a smile on her face. 


I decided to go back to a pretty pink.... with 49 Market papers you certainly can't go wrong. I used some old felt flowers too.


A closer view! 


Thanks for stopping by today
Hugs Lisa

Saturday, May 30, 2020

Not Today Virus

Hi! Sharing a quick post on a card that I started earlier this week and finally finished it today. Inspired by the Yep...Covid 19/Coronavirus. Yes, there are Real Monsters out there. 


I used the Lawn Fawn sushi for my TP. I think it came out cuter than I expected. 


A closer view....The monsters are from Echo Park...finally used them for the first time. 


Thanks for stopping by today! 
Stay well
Hugs Lisa 

Sunday, May 24, 2020

Get Well Soon

Hi! Just sharing a quick post on a chicken noodle soup box inspired by Lawn fanatics challenge a week back. I didn't like it too much back then but it is starting to grow on me now...lol


I was going to put some yellow grass and some a few too go meds like aspirin inside...


Thanks for stopping by today! 
Stay safe and well during this Memorial Weekend!
Hugs Lisa 

Saturday, April 4, 2020

Caught A Bug?

Hi Happy Saturday! I made this card a few days ago....bc my daughter wasn't feeling to well. Just a normal under the weather....and allergies. I was inspired by a card by Tammy Stark with the adorable mice and stars. I loved the jar with the stars inside the magic iris. So I decided to catch a bug inside my jar. Thanks Tammy! 


I love the color red, so these adorable lady bugs are wonderful. I also been in LOVE with the cloud stencil from Lawn Fawn too. I used vellum for my magic iris so you can see a bit of the inside. 


The inside of the card! 


Thanks for stoping by today! 
Hugs Lisa 

Thursday, February 13, 2020

Scrapbook.com Cards

Hi! Well, this post is all about the new stencils and stamps from scrapbook.com They are exclusive and I just love that I get asked to design with their products. Thank you! 

Using the star stencil


 Using the buffalo check stencil

 Using the new stamps wordfetti 

Using star stencil 

Using  Bold & Mini Caps - Outline


Using Bold Letters


Using diamond stencil 


Using mixed stripes stencil


Using string lights stencil


Using string lights stencil


Using buffalo check stencil


Using mod circles stencil


Using wordfetti stamps 


Hope you enjoyed!
Thanks for stopping by today! 
Hugs Lisa 

Thursday, September 15, 2016

Blog Hop "Gift Envy's" With Cheery Lynn Designs


Hi everyone! Welcome to this month's Blog Hop with Cheery Lynn Designs
If you have come from Julie's Blog you are on the right track. 
Today we are sharing with you our new release called........
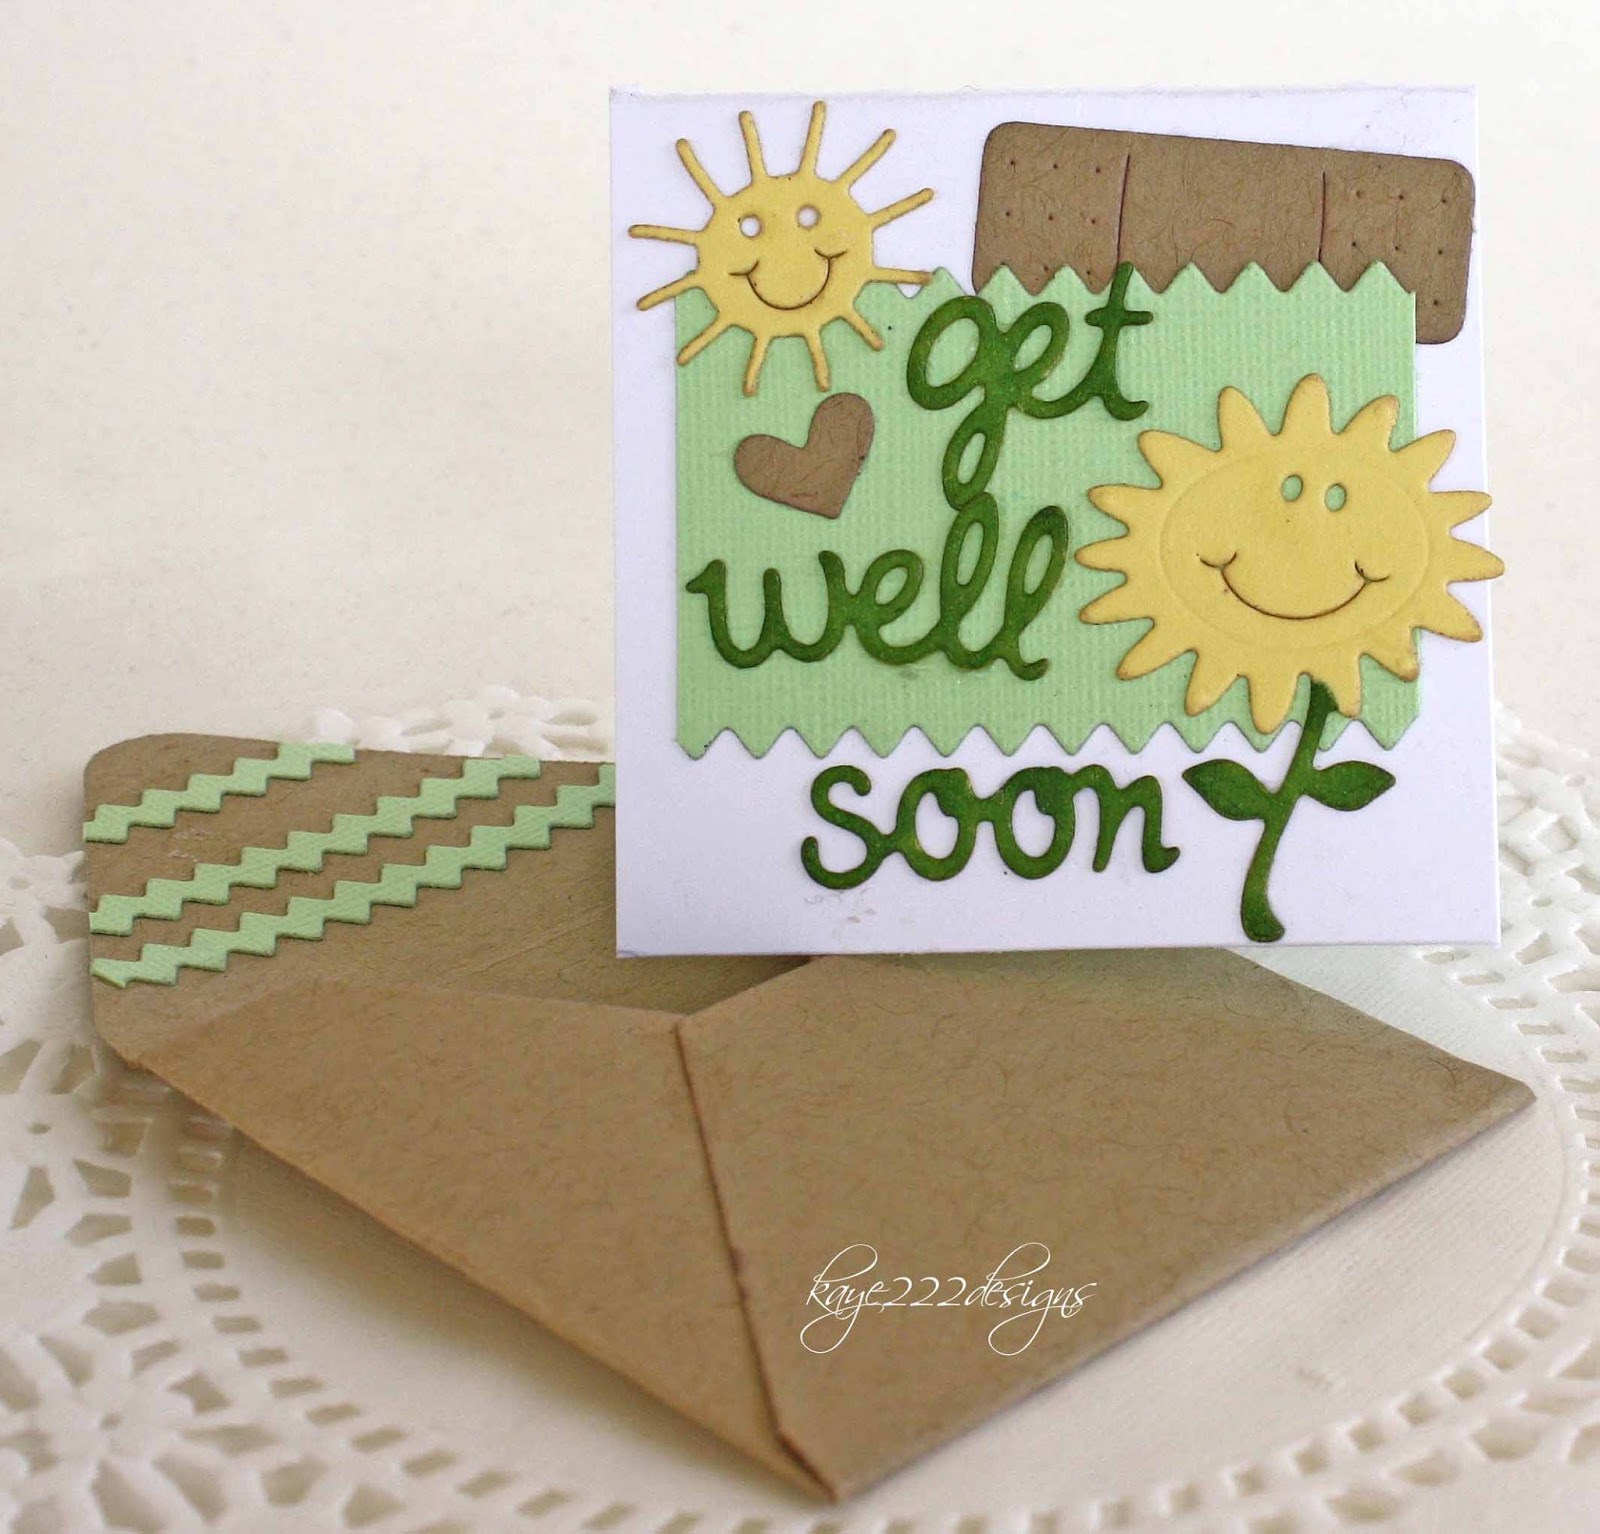
They are adorable mini cards with envelopes that you can make for a quick note.


The cards are about 2.25 inches with a perfect envelope to match.
I made mine into a card you can open up but you can leave them just simple too. 
The hearts are really cute and there is more dies in the set to change it up a bit. 


Here is the Get Well Soon with adorable bandaid, sun, and smiley sunflower.


A quick birthday card is always great to have on have on hand.
Here I added some yellow stickles for a bit of shine. 


Well thanks for stopping by today! 
Be sure to hop on over to Amy's Blog and check back at the end of the hop with Cheery Lynn Designs for your chance to win some $ at the Cheery Lynn Designs store! 
Happy Hopping! 
Hugs Lisa 

Tuesday, July 7, 2015

Feel Better Soon

Hi everyone! 
Sharing a new card inspired by this week's Mojo Monday #405
I bought this stamp from Verve a while ago and totally forgot I had it in my stash? In fact, I believe I bought another one just recently? lol Well, I guess it is getting time to start going through my scrapping supplies and clean out some of the old items....
These papers are from Graphic 45 and I bought them out be used again...I believe the last time I had them out was on a scrapbook LO. Now that has been a while!


As I was looking for the right peach/orange flower I couldn't find any so back to making them myself...You can never go wrong with the color! I used Bitty Blossoms for the flowers and Rose Leaves by Cheery Lynn Designs. The circle is from Spellbinders, Splendid Circles. I found some pieces of brown bling that have been sitting around for a while now. I was thinking it needed something else too? The tiny beads are brown and are what I have been using for shaker cards. So I placed them in the corners and around the sentiment. 


You can never have enough Get Well Cards. Hopefully you don't have to use them to often! 


Here is the sketch! 
Its is part of the big contest for the month!  


Thanks for stopping by and have a great day!
Hugs Lisa 

Sunday, June 14, 2015

Shabby Chic Get Well Soon


Hi everyone! 
I hope your weekend has been going wonderful! 
I have been able to make some new cards this weekend. This card came up unexpectedly for someone close in our family. She likes pink and had to have surgery recently. So this is what I came up with to give to her. I have made a tissue box card in the past, so that was my inspiration again today. 


The flowers are part of the dollar section at Michael's and I really love them a lot. So I think I may have to go back to see if they have more and buy them up. The resin bunny is part of the shabby chic collection by Prima. 


I made a pink double bow and added pearls to the top. The center opening of the tissue box has real tissue paper and there are pearls all around the opening too. There are also pearl swirls and a few in 2 of the corners. 


The sentiment is from Verve. I love the font. 


Thanks for stopping by today! 
Have a wonderful Sunday!
Hugs, Lisa

Thursday, March 7, 2013

Got the Blues?

Hello again, 
Today, I wanted to make a card for the Cheery Lynn Designs Blog Challenge #70 using a doily. This past weekend, I went to the local card convention in Mesa, AZ and I purchased many diecuts from Cheery Lynn Designs. I just LOVE the delicate details of all the diecuts, I sure wish I could own them all! I was lucky to win the first place card contest on Saturday, so that sure helped out quite a bit in getting lots of goodies! That also helped me feel a little better after a recent death close to our family. However, my daughter is still having a really hard time...that is where I got the theme for today..."got the blues?" 


This little 5 x 5 card has 4 diecuts from Cheery Lynn Designs. The main focus is the doily in the background it is called "Italian Flourish". I fussy cut out the blue cardstock behind the doily background so the doily could really pop off the card. I then used a slightly lighter blue to match my copic markers that I have and diecut a "victorian romance flourish" from Cheery Lynn for the left hand bottom corner. On the bottom, is another new diecut that I purchased called "border carnivale" I really like the thickness of it and it has really amazing details. 


The adorable little hearts are called "two of hearts" are part of the doilies and exotic dies. There are 2 different sizes in the package, I used the smaller of the two because of the size of my card, next time I sure will bringing out the big one so you can see it. I placed the sentiment, printed from the computer, in the center on a smaller heart and then framed it in blue cardstock. The little bear with torn patches is a stamp that I bought years ago from Stamps By Judith. I sure wish I could color better but for this card it worked out great for the mood of blue. To finish the card I added navy blue ribbon, liquid pearls and buttons. No flowers??? lol...I'm thinking you sure don't need them for all the diecuts are just as beautiful as flowers....love it!


I usually don't finish insides very often...mostly because I make cards but don't send very many out? Sad huh? But this card I did finish the inside because I want to give it to my daughter who is having the blues....sigh....I used navy blue cardstock and cut another "victorian romance flourish" and then just added liquid pearls around the sentiment.


Thanks for stopping by and send some "Cheery" thoughts my way for my daughter. Im also hoping that I can be a Guest Designer for Cheery Lynn Designs in the near future...
I'm keeping my fingers crossed.... :)
Hugs
xoxo

Friday, October 19, 2012

Get Well Soon *Donna Salazar*

Hello again! Its Lisa back with a new card with tutorial! 
I have had some family members not feeling so well lately and that was my inspiration for today. 
When Im sick I think of chicken soups and those are the colors for today with a bit of country twist. 
Using Donna's NEW "chicken wire" stamp it feels like chicken soup is close. LOL
I really like shabby chic and vintage items so this card is a bit of both:)


Here you can see it is a bit 3D as I like most of my cards.


Just love those bitty blossoms and those amazing new chippies by Donna!


So here is how I made this card: Bare with me if some sounds very basic :)
First, take a 12 x12 white cardstock and cut at 5 inches.
Save the rest...Im a big saver anyways....How about you?


Score at 6 inches and fold in half. This is your base and the base of several cards that I make. 


Next using the "Chicken Wire" stamp, stamp right in the middle using "Black Mix'd Media Inx" 
and "Black Embossing Powder". 


Next with the leftover pieces of white cardstock, cut another 5 x 6 piece of paper.
Measure 1 inch inwards and cut out the center. 


Cut the corners at an angle and emboss with a diecut, I used 
Spellbinders "Parisian Accents" But you can use whatever you have on hand. 


Place a piece of ribbon on the bottom just barely under the frame and glue all the frame pieces down. 
If you like you can add pop dots instead. Be sure to curl up the inside edges a bit.


Next make 3 yellow flowers using "bitty blossoms" and " GCD botanique papers"
I also cut in the matching yellow paper "lacey circles" and a 1. 5 inch white circle. 
Stamp the white circle with "chicken wire" and emboss.
(Not shown, a larger yellow "lacey circle" and a circle kraft cardstock, crimped)
I added it after I took the photo....sorry!


Here are some of the extra supplies and once again that fabulous chippie from Donna!
For my title strips, I used Microsoft Word for Mac and I added tiny dots using a black marker. 


Well that is it girlies! 
It takes about an hour to make but Im sure it will make your loved one feel much better :)
Thanks for stopping by...have a great day!
xoxo

Products Used: